Canon R6 Mark III Video Settings That Work
The questionWhere do these come from?
Need advice : Canon R6 M3 or Sony A7 V
I'm currently in Japan and looking to buy a full-frame hybrid camera since prices are much cheaper here and I can get it tax-free. My main use is travel photography, but I'll be shooting video as well.
Start with 4K Fine, 10-bit 4:2:2, Canon Log 2, manual exposure and Digital IS, then change presets for walking, slow motion or reframing.
Set the EOS R6 Mark III to Movie M, 4K-U Fine at 29.97 fps, XF-HEVC S YCC422 10bit, Standard Long GOP, Canon Log 2/C.Gamut, 1/60-second shutter, ISO 800, fixed white balance, Movie Servo AF and Movie Digital IS On. That is the strongest general-purpose setup for handheld, gradeable 16:9 footage.
Use 23.98 fps and 1/50 second when cinematic motion matters more than smooth handheld movement. Use regular 4K-U—not Fine—at 119.9 fps for slow motion. Choose Open Gate when the same clip must be reframed for horizontal and vertical delivery.
| Shooting situation | Resolution and frame rate | Recording format and color | Shutter and stabilization |
|---|---|---|---|
| Everyday handheld | 4K-U Fine, 29.97 fps | XF-HEVC S YCC422 10bit; Canon Log 2 | 1/60; Digital IS On |
| Cinematic handheld | 4K-U Fine, 23.98 fps | XF-HEVC S YCC422 10bit; Canon Log 2 | 1/50; Digital IS On |
| Walking slow motion | 4K-U, 119.9 fps | XF-HEVC S YCC422 10bit; Canon Log 2 | 1/250; Digital IS On |
| Horizontal and vertical delivery | Open Gate, 6912×4608, 29.97 fps | XF-HEVC S YCC422 10bit; Canon Log 2 | 1/60; Digital IS On |
Canon identifies 4K-U as 3840×2160 and 4K-D as 4096×2160. Fine modes provide higher image quality, while regular 4K reaches 119.9 fps under the NTSC system. Canon also confirms that 4K MP4 recording at up to 120 fps retains sound. Choose 4K-U for normal 16:9 delivery; use 4K-D only when a 4096-pixel-wide DCI workflow actually requires it. Canon’s recording-size documentation lists the available resolutions, frame rates and compression methods.
The default setup for most footage
Use these menu settings:
- Move the still/movie switch to Movie and turn the mode dial to M.
- Set Set-up → System frequency → 59.94Hz: NTSC for 23.98, 29.97, 59.94 and 119.9 fps. Canon designates this setting for Japan, North America, South Korea and Mexico. Use 50.00Hz: PAL when the finished production requires 25 or 50 fps. Changing system frequency also requires rechecking Movie rec. size. Canon documents both system-frequency options here.
- Set Shooting → Movie rec. format → XF-HEVC S YCC422 10bit.
- Set Shooting → Movie rec. size → 4K-U Fine → 29.97 fps → Standard (Long GOP).
- Set shutter speed to 1/60, choose the aperture for the required depth of field and begin at ISO 800.
- Set a manual or Kelvin white balance rather than Auto White Balance when several clips must match.
XF-HEVC S records H.265/HEVC with 4:2:2 10-bit color, giving a grade substantially more information than the camera’s XF-AVC S YCC420 8bit option. Canon describes that 8-bit format as the wide-compatibility choice, so use it only when immediate playback is more important than aggressive color correction. Canon’s format table confirms the codec, chroma sampling and bit depth of every option.
Long GOP keeps files smaller than the intra-frame modes. If the editing computer handles H.265 poorly, either generate proxies or use XF-AVC S YCC422 10bit with an intra-frame setting. The latter is intended for editing but produces larger files. Anyone configuring a new workstation for these files can use this Mac Mini M4 video-editing setup guide to avoid mismatched storage and memory choices.
The stabilization setup for walking shots
Open Shooting → IS (Image Stabilizer) mode. Turn the lens’s physical IS switch on, set IS mode → On, and start with Movie Digital IS → On. Change Digital IS to Enhanced only when the normal setting cannot control the movement and the tighter field of view is acceptable.
Canon states that Digital IS On slightly magnifies the image, while Enhanced applies stronger correction and magnifies it further. Digital stabilization can also make noise more visible and occasionally make a subject appear momentarily soft. A wide focal length and smooth heel-to-toe movement still matter; Enhanced is not a substitute for a gimbal. Canon explains these limitations in the R6 Mark III IS guide.
For a person walking through the frame, set:
- Autofocus → Movie Servo AF → Enable
- AF area → Whole area AF
- Subject to detect → People
- Eye detection → Auto
- IS mode → Subj. track. IS → On → Screen center, if the attached lens supports it
Use Enhanced sparingly with 119.9 fps footage: Canon warns that Digital IS may be less effective at frame rates of 100 fps or higher. On a tripod or gimbal, set Digital IS to Off; Canon specifically recommends Off for tripod recording.
Do not enable Movie Auto level for this walking preset. That feature requires Movie Digital IS to be Off, so the two options cannot form a combined stabilization stack.
Canon Log 2 for the most gradeable footage
Go to Shooting → Color mode → Custom Picture, press INFO, choose Select Custom Picture File, and select C2: Canon Log 2. Its preset combines Canon Log 2 with C.Gamut. Canon describes it as providing better tonality in dark image areas than Canon Log 3, while both require post-production. The normal movie ISO range for Canon Log 2 and Canon Log 3 begins at ISO 800. Canon’s Custom Picture documentation provides the preset definitions and Log limitations.
Just want the recommendation?
Skip to the picksKeep ISO 800 as the daylight starting point and control excess light with an ND filter, aperture or lighting. Avoid forcing Log below its normal ISO range merely to avoid using filtration. Canon Log 3 remains appropriate when footage must match an established Log 3 workflow, but Canon Log 2 is the stronger default for maximum grading latitude.
Enable Shooting → HDR/C.Log View Assist → Screen/Finder → On (BT.709 during Custom Picture). This makes the flat Log image easier to judge without baking the display conversion into the recording.
For exposure, enable Shooting → False color set. → False color → On. Green marks 18% gray, pink marks one stop above gray, yellow is just below white clipping, red is white clipping, blue is just above black clipping and purple is black clipping. False color and zebras cannot be displayed simultaneously, so choose one exposure tool rather than assuming both are active. Canon’s false-color index defines those levels.
RAW is not automatically better for this handheld brief. Internal RAW records 6960×3672 in the normal 17:9 mode, but Canon disables RAW whenever Movie Digital IS is set to anything other than Off. RAW also increases storage and post-production demands. For walking footage, 10-bit 4:2:2 Canon Log 2 is the more coherent combination.
119.9 fps for slow motion, open gate for vertical
For slow motion with synchronized sound, select 4K-U → 119.9 fps, not the camera’s S&F mode. Use approximately 1/250 second for conventional motion blur, add light as required and expect Digital IS to be less effective than it is at 29.97 fps. S&F mode creates slow or fast playback in-camera but does not record sound.
For one master shot that may become 16:9, 9:16 or 1:1, select Shooting → Open Gate → On, then choose XF-HEVC S YCC422 10bit. MP4 Open Gate records 6912×4608 in 3:2 at 29.97, 24.00 or 23.98 fps under NTSC, or 25.00 and 24.00 fps under PAL. It does not offer 50, 59.94 or 119.9 fps. Canon’s Open Gate table confirms those combinations.
Open Gate is unavailable with Movie cropping, HDMI RAW output, RF-S/EF-S lenses or UVC/UAC USB streaming. Digital IS can crop the Open Gate image further, so leave extra space around the subject and use the camera’s aspect markers to protect both horizontal and vertical compositions.
Match LEDs, manage heat and edit with proxies
Under LED lighting, keep Movie M active and open Shooting → HF anti-flicker shooting → Enable → Recommend Tv sett. The camera can detect flicker sources from 50.0–2011.2 Hz and recommend a shutter speed between 1/50.0 and 1/8192.0 second. This is more reliable than blindly applying 1/50 or 1/60 when an LED fixture uses high-frequency pulse-width modulation. Canon documents the detection range and manual adjustment process.
Use a VPG400 CFexpress Type B card in slot 1 for demanding modes, then perform Set-up → Format card → Low level format before an important 4K shoot. Canon supports CFexpress 2.0 Type B and VPG400 in slot 1; slot 2 accepts UHS-II SD cards. A slow card can stop recording.
For easier editing, set Set-up → Record func+card/folder sel. → Movie Rec options → Card 1 Main / Card 2 Proxy. The camera then records the main file to CFexpress and a smaller proxy to SD.
Heat remains a physical limit, not a menu error. In Canon’s 23°C test conditions, 4K DCI Fine at 59.94 fps was listed at approximately 23 minutes, while 4K DCI Fine at 29.97 fps had no stated heat restriction. Ambient temperature, prior use, card temperature and power source can shorten real recording time. For long events, use 29.97 fps or regular 4K instead of 4K Fine 59.94, and stop if the red temperature warning appears. Canon’s current support specifications contain those test conditions and recording estimates.
Before recording an important take
Set Shooting → Audio settings → Recording mode → Manual and adjust the input so loud peaks occasionally pass just to the right of −12 dB but never reach 0 dB. Use an external microphone for speech; the built-in microphone can capture autofocus and handling noise. Canon records audio at 48 kHz and supports external 3.5 mm and Multi-Function Shoe microphones. Canon’s audio guide documents the level target and input options.
Finally, record a short clip with the exact lens, card, frame rate and Log setting, play it back, import it into the intended editor and apply the intended Canon Log conversion. As of August 17, 2026, Canon’s U.S. support page lists firmware 1.1.0 for the EOS R6 Mark III; check the support site for the camera’s sales region before updating. No preset can guarantee freedom from LED flicker, thermal shutdown, autofocus errors or software incompatibility without that real pre-shoot check.
The bottom line
Either works — what you already have picks one:
Top pick
Buy this
Canon Stereo Microphone DME1D
Canon
The DME1D is explicitly compatible with the EOS R6 Mark III and connects through its Multi-Function Shoe without a loose 3.5 mm cable.
This cable-free Multi-Function Shoe microphone is explicitly compatible with the EOS R6 Mark III and avoids the loose 3.5 mm cable of a conventional camera-top microphone. It occupies the shoe and remains less suitable than a close lavalier or boom microphone for isolated dialogue.Available at Amazon(paid link) — opens Amazon in a new tab. Price and availability shown there.The alternative
Buy this
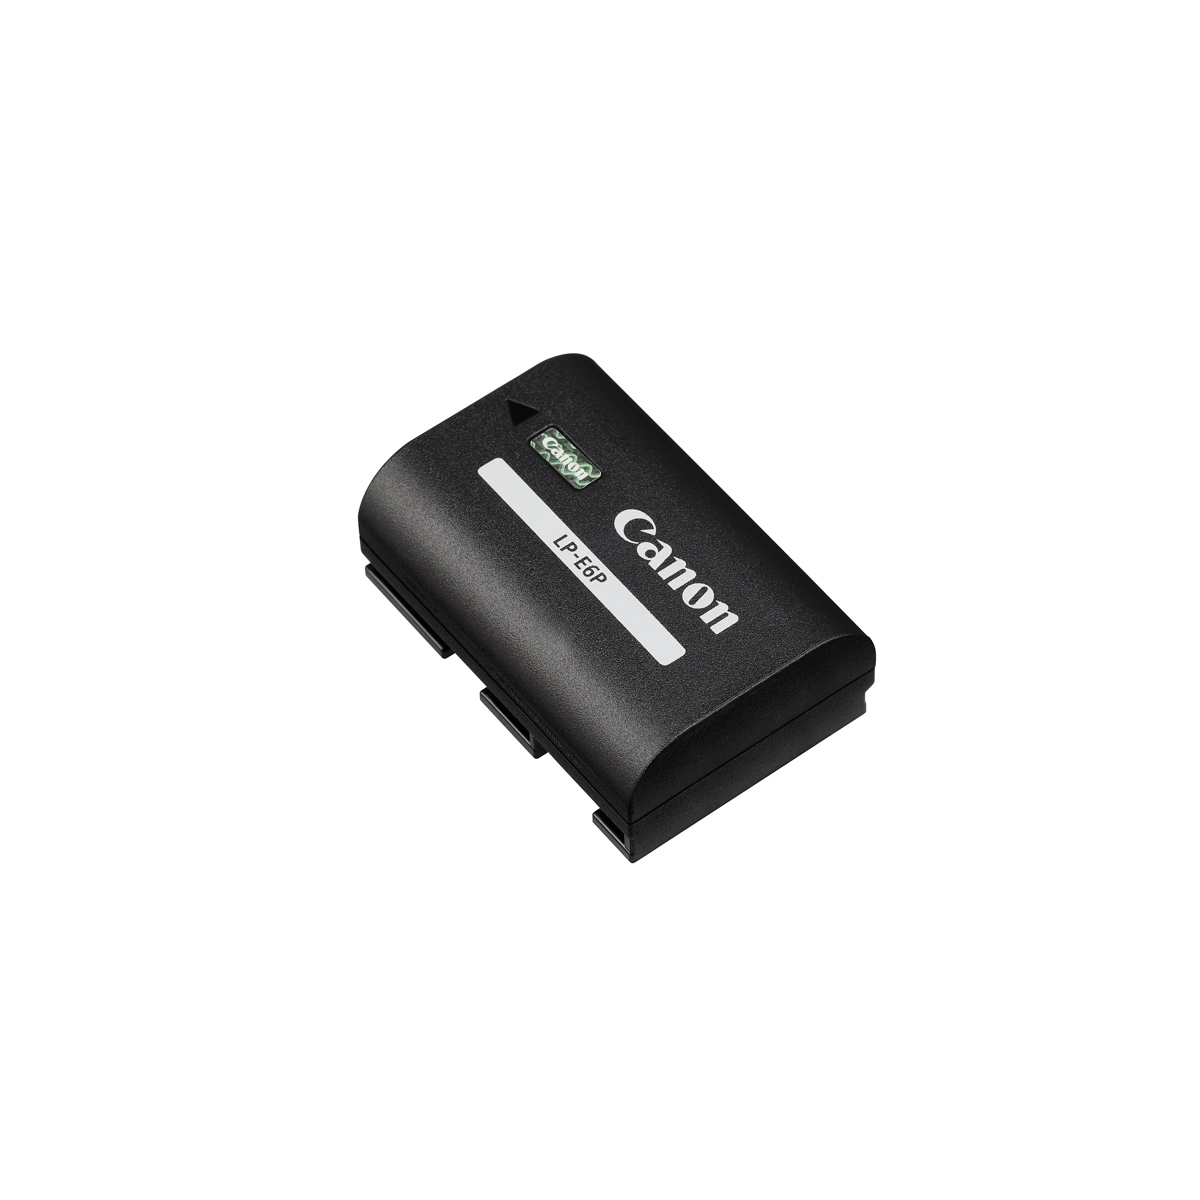
Canon Battery Pack LP-E6P
Canon
The LP-E6P is the R6 Mark III’s native battery and avoids the feature and performance limitations noted for older compatible packs.
The LP-E6P is the R6 Mark III’s native battery and avoids the feature and performance limitations Canon notes for older compatible packs. Carrying one spare still requires interrupting a take to swap batteries and does not prevent heat-related shutdown.Available at Amazon(paid link) — opens Amazon in a new tab. Price and availability shown there.
Recommended products
Ordered by how well each one fits the situations above. Each link below is a paid link.
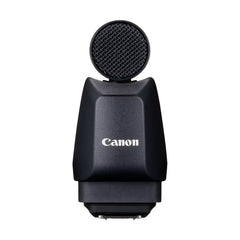
Canon Stereo Microphone DME1D
Canon
Buy — The DME1D is explicitly compatible with the EOS R6 Mark III and connects through its Multi-Function Shoe without a loose 3.5 mm cable.
This cable-free Multi-Function Shoe microphone is explicitly compatible with the EOS R6 Mark III and avoids the loose 3.5 mm cable of a conventional camera-top microphone. It occupies the shoe and remains less suitable than a close lavalier or boom microphone for isolated dialogue.Available at Amazon(paid link) — opens Amazon in a new tab. Price and availability shown there.Canon Battery Pack LP-E6P
Canon
Buy — The LP-E6P is the R6 Mark III’s native battery and avoids the feature and performance limitations noted for older compatible packs.
The LP-E6P is the R6 Mark III’s native battery and avoids the feature and performance limitations Canon notes for older compatible packs. Carrying one spare still requires interrupting a take to swap batteries and does not prevent heat-related shutdown.Available at Amazon(paid link) — opens Amazon in a new tab. Price and availability shown there.
Sources
Pages consulted while researching this article. None of these are affiliate links.
- Canon EOS R6 III review: A video powerhouse that's also great for photography — Engadget — engadget.com
- EOS R6 Mark III Product Manual: Movie Auto Level — Canon — cam.start.canon
- Canon EOS R6 Mark III: Movie Recording Size — cam.start.canon
- Canon EOS R6 Mark III: Movie Recording Format — cam.start.canon
- Canon EOS R6 Mark III: Color Mode and Custom Picture — cam.start.canon
- Canon EOS R6 Mark III: Image Stabilizer Mode — cam.start.canon
- Canon EOS R6 Mark III: Open Gate — cam.start.canon
- Canon EOS R6 Mark III: False Color Settings — cam.start.canon
- Canon EOS R6 Mark III: High-Frequency Anti-Flicker Shooting — cam.start.canon
- Canon EOS R6 Mark III: Sound Recording — cam.start.canon